XIAO RP2040をMicroPythonで動かしてみました。
- 2022年9月17日
- 読了時間: 2分
更新日:2022年10月23日
XIAO RP2040をMicroPythonで動かしてみました。
wikiのTOPへのリンクは下記になります。
MicroPythonの設定とサンプルプログラムについては下記のリンクに記載されています。

まず、ファームウェアの設定をするためにThonnyを起動します。
開発環境(Thonny)の設定をしていない場合は当ブログでは下記の記事に記載しています。
Thonnyを起動したらBOOTボタンを押しながら、XIAO RP2040をPCに接続します。
※XIAO RP2040はtypeC端子となります。

メニューバーよりツール > オプションを選択します。

ポートのプルダウンを<ポートの自動検出を試す>に変更してOKをクリックします。

説明にはStopボタンを押すとポップアップが表示されると書いてあったのですが表示されなかったので、右下のインタプリタの設定よりInstall MicroPythonを選びました。

MicroPython variantにXiaoがなかったので、Raspberry Pi Picoを選択しました。

時間をおいて確認したところ再度右下のインタプリタの選択するプルダウンにMicoPythonの表記がされたので、MicoPythonを選択します。

設定が終わったので、Light up RGB LED on the Seeed Studio XIAO RP2040を試してみます。
まず、Light up RGB LED on the Seeed Studio XIAO RP2040のStep1のws2812.pyをダウンロードしてThonnyで開き、ws2812.pyの名前でXIAO RP2040に保存します。

メニューバーよりファイル > 名前を付けて保存を選択。
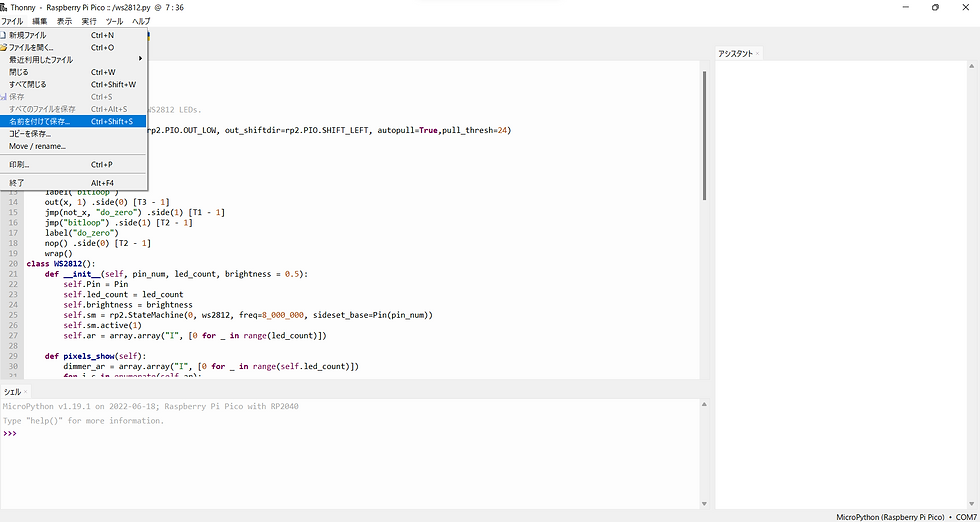
Raspberry Pi Picoを選択後、ws2812.pyの名前で保存します。

Thonnyのメニューバーよりファイル > 新規ファイルを作成を選択後、下記のリンク(MicroPythonの設定とサンプルプログラムについてのリンクと同じです)のLight up RGB LED on the Seeed Studio XIAO RP2040のStep3のプログラムをThonnyへコピペします。
ファイルをRP2040に保存して実行します。

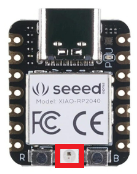
うまくいけば、RボタンとBボタンの間のRGB LEDが点滅するはずです。

コメント