Pico Display Pack 2.0のサンプルプログラムをCircuitPythonで動かしてみました。
- 2022年7月2日
- 読了時間: 1分
更新日:2023年7月23日
PimoroniのPico Display Pack 2.0のページにCircuitPythonもサポートされている表示があったので、サンプルプログラムをで動かしてみました。

Pimoroniの商品紹介のページはこちらになります。
まず、今回はCircuitPythonを使用するので、CircuitPythonの設定をしていない場合は、Raspberry Pi PicoのBOOTSELボタンを押しながらPCへ接続して、CircuitPython用のファームウェアの設定を行います。
設定方法については以下の記事をご参照ください。
次に、下記のリンクのサイトからCircuitPythonのVersionに合わせたBundleをダウンロードします。

ダウンロードがおわったら、Zipファイルのlibフォルダにある下記のデータをRaspberry Pi PicoのCIRCUITPY > lib フォルダにコピーします。
・adafruit_display_text
・adafruit_st7789.mpy

次に、ダウンロードしたZipファイルのexamplesフォルダにある下記のデータをRaspberry Pi PicoのCIRCUITPY フォルダにコピーし、Code.pyに名前を変更します。
・st7789_320x240_simpletest_Pimoroni_Pico_Display_2_0.py
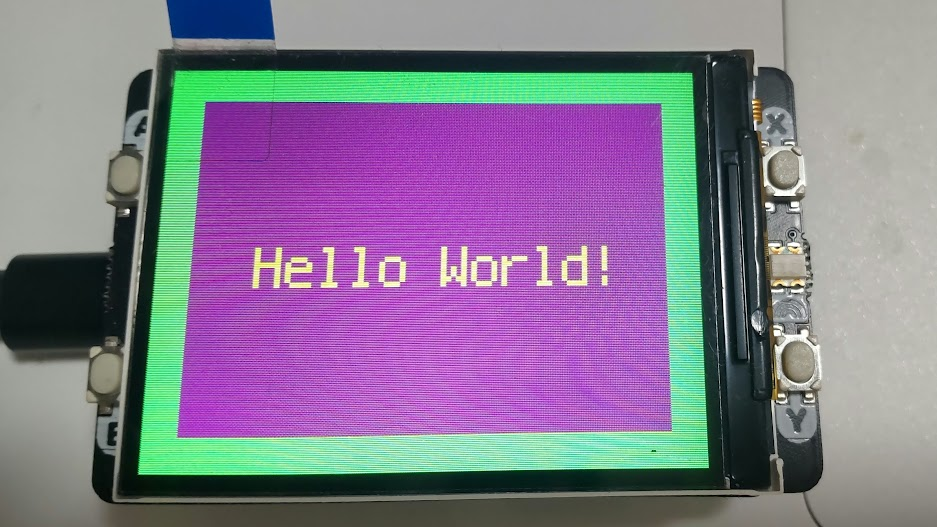
うまくいけば下記のように表示されます。

コメント