Waveshareの回転センサー モジュール をサンプルプログラムを利用して、Raspberry Pi PicoにつないでMicroPythonで動かしてみました。
- 2021年9月18日
- 読了時間: 2分
Waveshareの回転センサー モジュール をサンプルプログラムを利用して、
Raspberry Pi PicoにつないでMicroPythonで動かしてみましたので手順を下記に記します。
なお、今回は中国語版のwikiを確認しながら進めていきます。

まず、通常の方法でMicroPythonのファームウェアをセットアップします。
設定方法は下記のURLに記載されています。
URL: https://www.raspberrypi.org/documentation/rp2040/getting-started/#getting-started-with-micropython
また、当ブログでは下記の記事に記載しています。
次に、開発環境の設定していない場合は設定します。
当ブログでは下記の記事に記載しています。
Raspberry Pi Picoと開発環境の設定ができたら、センサーをRaspberry Pi Picoにつなぎます。
この時、Raspberry Pi PicoとPCの接続は外しておきます。
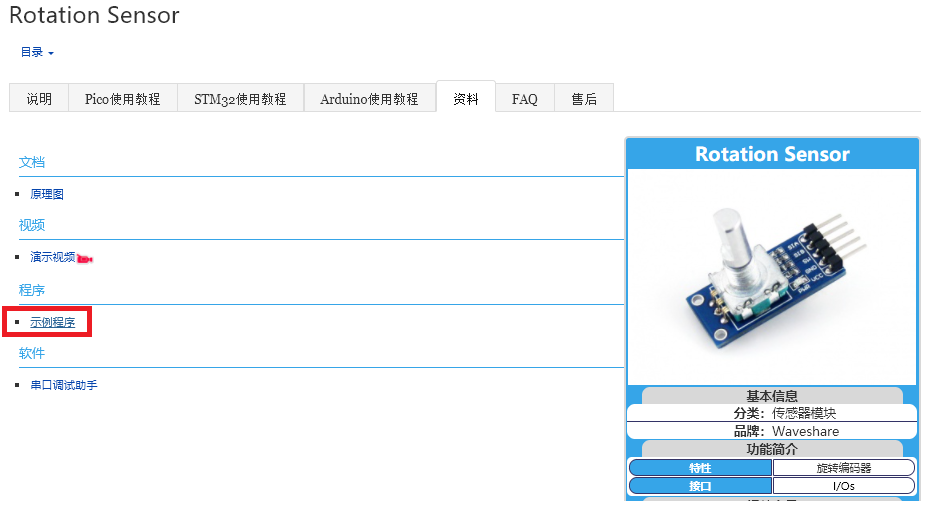
つなぎかたは、wikiのpico使用教程のタブに書かれています。
写真はそのページから引用しています。

センサーをRaspberry Pi Picoにつないだら、Raspberry Pi PicoをPCにつなき、Thonnyでサンプルプログラムを動かします。
サンプルプログラムはwikiの資料のタブの程序の下の示例程序のところをクリックすると
ダウンロードできますが、ダウンロード先の直リンクは下記に貼っておきます。
ファイルがダウンロードできたら、解凍して(←7-zipなど解凍ソフトが必要)
Rotation-Sensor-code > Rotation-Sensor-code > Pico > pythonのフォルダに移動すると
MicroPython用のサンプルプログラムがあります。

センサーをつないだ状態。

サンプルプログラムです。

実行結果はこんな感じです。


コメント