M5 Stack SeriesのAtom LiteでUIFlowを使ってI/OハブユニットにLEDとGrove Digital PIR Motion Sensorつないで動かしてみました。
- 2023年1月29日
- 読了時間: 1分
M5 Stack SeriesのAtom LiteでUIFlowを使ってI/OハブユニットにLEDとGrove Digital PIR Motion Sensorつないで動かしてみました。

最初の初期設定までの流れはこちらをご確認ください。
設定が終わったら、下記のようにPORTAにI/Oハブユニットをつなぎ、I/Oハブユニットの0にGrove Digital PIR Motion Sensor、1にLEDをつないでPCへ接続します。

UIFlowにアクセスします。
※今回、言語は英語にしています。
なお、verは変更せずにこのままで設定していきます。
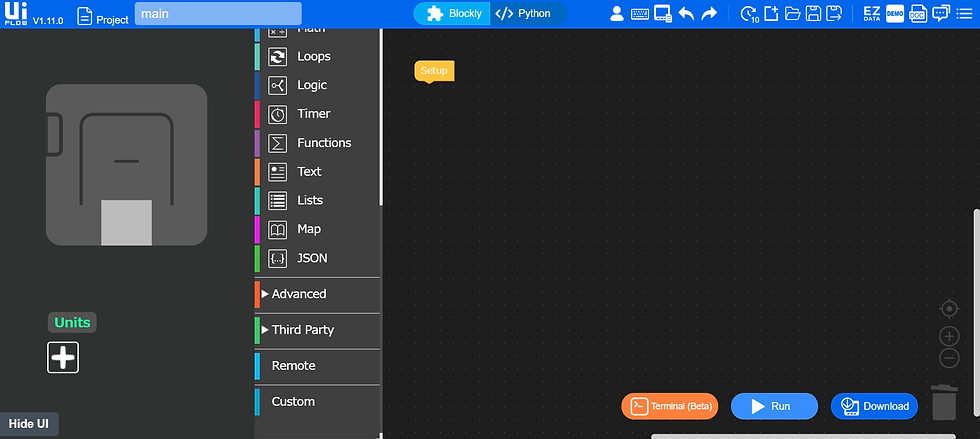
まず、左下のUnitの+マークをクリックし、Pb.HUBを選択します。
ポートはAを使用しているので、今回はそのままにしておきます。


ブロックを用意して下記のように配置して、実行ボタン(▶Run)をクリックします。
・Event > Loop
・Units > pbhub_0 digitalRead CH 〇 to 〇
・Units > pbhub_0 digitalWrite CH 〇 to 〇 value 〇
・Variables > Set 〇 to
・Variables > 〇
・Logic > if 〇 do 〇 else 〇
・Logic > 〇 = 〇
・Timer > Wait 〇s

実行すると人感センサーが反応したときにLEDが点滅します。
参考にした記事
M5 STACK Pb.HUB Document


コメント